



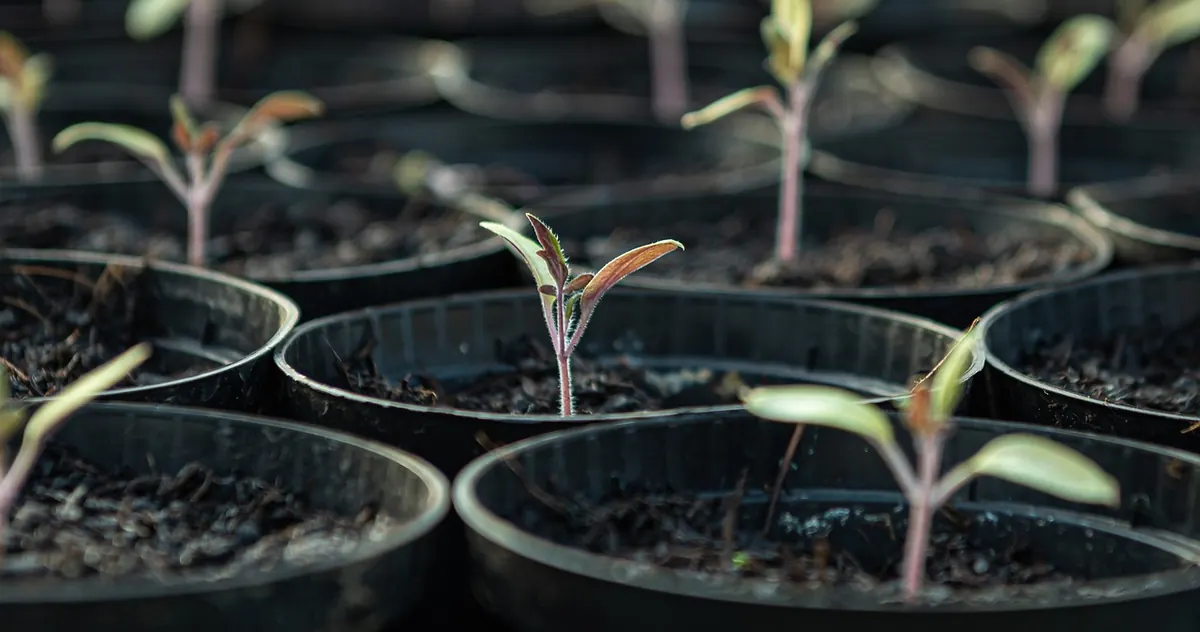
A pot of tomatoes on a warm patio earns its space. Two healthy plants, picked every day or two through August, will out-taste anything stacked in a supermarket punnet, and the work is less about skill than rhythm: water, feed, tie in, repeat. Containers do make demands, though. Roots have nowhere to escape a hot afternoon, and a plant that dries out on Tuesday and drowns on Thursday will sulk for a fortnight. The trick is to plan the season in stages, choose varieties that suit a pot rather than a field, and keep the routine small enough that you actually keep it.
Choose a variety that forgives container life
Fruit size matters more than most beginners expect. In a pot, the plant has a limited root system and a limited season, so cherry and small-fruited types ripen reliably and keep coming even if the summer turns cool. Big beefsteak tomatoes are wonderful, but they want a large pot, a long warm season and steady watering; get any of those wrong and you harvest three fruit and a lot of green.
Growth habit is the second decision. Determinate, or bush, tomatoes stay compact, need little staking and ripen their crop over a few concentrated weeks. Indeterminate, or cordon, types keep growing and flowering until frost, which suits a patio where you can tie them to a stake or a wall.
- 'Tumbling Tom' — a trailing cherry that works in a basket or on a wall bracket.
- 'Gardener's Delight' — a cordon cherry with reliable, sweet fruit and good disease tolerance.
- 'Roma' or 'San Marzano' — bush plums for sauce, with dense flesh and fewer seeds.
- 'Marmande' — a large, ribbed beefsteak for anyone with a 30-litre pot and patience.
Two or three plants will keep a household in salad tomatoes. More than that becomes a watering job rather than a pleasure.
Timing: start earlier than the patio suggests
Sow indoors in late winter or early spring, roughly six to eight weeks before your last expected frost. A warm windowsill or a propagator at around 18–21°C gets seed up in one to two weeks. Move seedlings to a brighter spot the moment they are up, or they will stretch into pale, floppy stems that never quite recover.
Prick them out into individual pots when the first true leaves appear, and keep them cool and bright rather than hot. Then wait. Planting out before nights stay reliably above about 10°C stalls growth and invites the sort of cold check that shows up as yellowing lower leaves weeks later. Harden plants off over seven to ten days, putting them outside in shelter for a few hours at first and bringing them in at night.
If you buy transplants instead, choose short, stocky plants with thick stems and dark leaves. A tall plant already in flower looks impressive but is usually a plant that has been stressed, and it will drop that first truss soon after you get it home.
Potting: give the roots room and an exit
A 25–30 litre container, at least 30cm deep, is the sensible minimum for one tomato plant. Anything smaller turns into a daily watering commitment in July. Whatever you choose, check for drainage holes before you fill it — a pot without them is a bucket, and roots in saturated compost rot quietly.
- Put a few crocks or a layer of coarse grit in the base, then fill one-third with compost.
- Use a peat-free multipurpose compost mixed with a couple of handfuls of garden compost or loam for weight and water retention. Avoid filling with garden soil alone; it compacts, drains badly in a pot and brings weeds.
- Mix in a slow-release fertiliser at the rate on the packet.
- Set the plant deeper than it was growing, burying the stem up to the first set of leaves. Tomatoes root along buried stems, which builds a sturdier plant.
- Fill, firm gently, and water until it runs out of the base.
- Mulch the surface with two or three centimetres of compost or straw, and stand the pot on feet rather than flat on the paving.
Watering is the whole game
Consistency beats quantity. A fruiting plant in a 30-litre pot on a sunny patio may need a litre or two a day in high summer, more in wind. Water in the morning, direct at the base, and try not to splash the leaves. Push a finger in to the second knuckle before topping up; if it is damp down there, wait.
Two problems come directly from stop-start watering: fruit splits after a dry spell ends with a soaking, and blossom end rot appears as a sunken dark patch on the base of the fruit. Both are easier to prevent with mulch and a steady hand than to fix afterwards. A saucer of standing water is not the answer; it keeps the lower roots soggy while the top dries.
Feeding after the first truss sets
Start a high-potash tomato feed when the first small fruits have set, and follow the dilution on the bottle rather than improvising. Weekly is typical. Overfeeding gives you a huge leafy plant with little fruit, so if the leaves are dark and lush and the flowers are dropping, ease off for a couple of weeks.
A tomato in a pot is only as good as your worst watering week.
Support, air and a little pruning
Cordon types need a stake, a spiral support or a cage from the day they go out, not once they have already flopped. Tie stems with soft twine in a loose figure of eight so the stem has room to thicken. Bush types usually manage alone, though a low ring support keeps heavy trusses off the ground.
Pinch out the side shoots that appear in the angle between leaf and stem on cordon varieties, once a week, while they are small enough to rub out with a thumb. Remove lower leaves that touch the compost or the paving, since these are the ones that pick up splashes and disease. In late summer, pinch out the growing tip two or three trusses above the last set fruit so the plant puts its energy into ripening what is already there.
Pollination needs a hand on a sheltered patio. Tap each flowering truss gently at midday, when the air is dry, and keep pots spaced so air moves between them. Crowded, still plants are the ones that develop mould.
The ten-minute weekly routine
Once plants are settled, the season becomes a short list rather than a project. Water in the morning, tie in new growth, rub out side shoots on cordons, pick ripe fruit every day or two so the plant keeps setting more, and look over the leaves for yellowing, mottling or grey patches. Deal with problems early: a leaf with blight or mould goes in the bin, not on the compost heap.
As nights cool, bring any remaining green tomatoes indoors to a bowl on a windowsill, or lay them in a single layer in a paper bag with a ripe apple or banana to speed ripening. Empty and clean the pots at the end of the season, store them dry, and make a note of which varieties actually performed on your patio. Next spring you will plant two, not six, and enjoy them more.
Photo: AndreasGoellner / Pixabay
Related posts
More stories you’ll love reading